All Item Locations in Australia
Find all 31 item locations in Australia, with spawn times and map spots in one fast, practical companion tool.
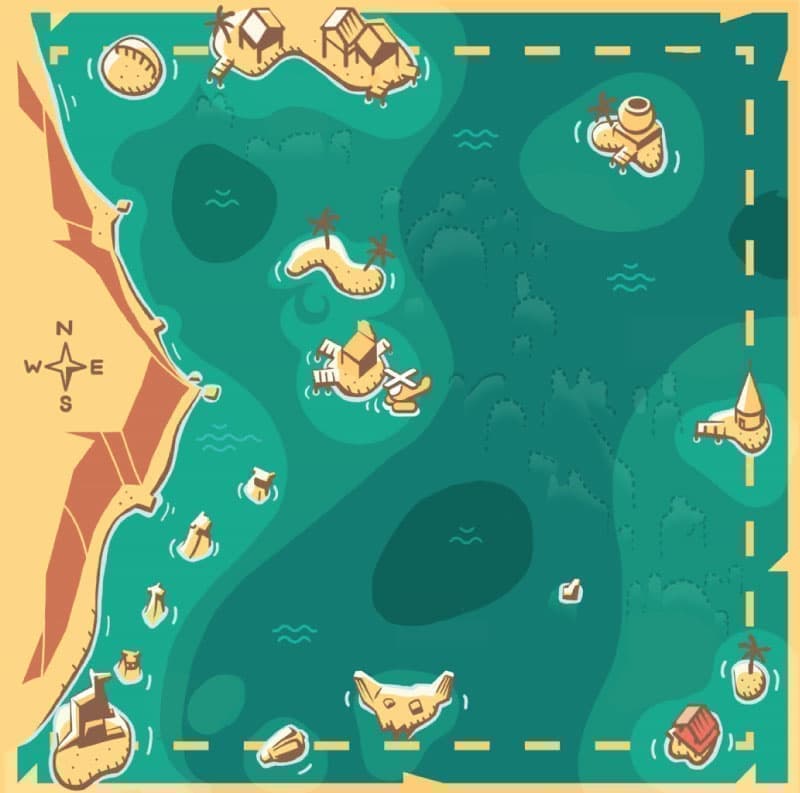
Interactive map
Collection tracking
- Mark entries you've ever caught or found. Never resets.
- Mark entries caught or found this month. Resets on the 1st (UTC).
Saved on this device only. Use Export / Import to back up.
All Items Locations in Australia
| Details | ||||
|---|---|---|---|---|
| aussie rule ball | South-East | N/A | Common | |
| australian cricket bat | South-East | N/A | Common | |
| beer can | North-East, South-East | N/A | Common | |
| boomerang | North-West | N/A | Common | |
| bottle of suntan oil | North-East | N/A | Common | |
| chips bag | South-East | N/A | Common | |
| cork hat | East | N/A | Common | |
| crocodile crate | South-East | N/A | Common | |
| crocodile key | North | N/A | Common | |
| didgeridoo Flute | South-West | N/A | Common | |
| eucalyptus branch | North-West | N/A | Common | |
| explorer diary | South-East | N/A | Common | |
| floppy disk | North | N/A | Common | |
| fridge magnet | South-West | N/A | Common | |
| giant shark tooth | North | N/A | Common | |
| kangaroo road sign | South-West | N/A | Common | |
| koala hat | North-West | N/A | Common | |
| lawn chair | North-West | N/A | Common | |
| maori jewelery | South-East | N/A | Common | |
| marine trap | South-West | N/A | Common | |
| parrot feather | North-West | N/A | Common | |
| pearl | North, North-East | N/A | Common | |
| plastic "Dory" fish | North-East | N/A | Common | |
| plastic barrel | South-East | N/A | Common | |
| rock with aboriginal painting | South-West | N/A | Common | |
| sunglasses | North-East | N/A | Common | |
| surfboard | West | N/A | Common | |
| turtlegrass | West | N/A | Common | |
| vegetime | Center | N/A | Common | |
| vinyl record | South | N/A | Common | |
| wooden crate | West | N/A | Common |